
For a long time I pondered the task of transferring the layout on to the dashboard so I could cut it out. The first step of this was to find the centre line, but after that I was not too sure!
I started by measuring the available space where the dials go:


This then allowed me to create a drawing (using Pages on my Macbook, no less!) of how I wanted to the dials to sit together. Using Pages was actually a really good way of doing this, as I could size all of the shapes really easily, and when I dragged them around, useful little alignment lines would pop up so I could get everything aligned just perfectly.
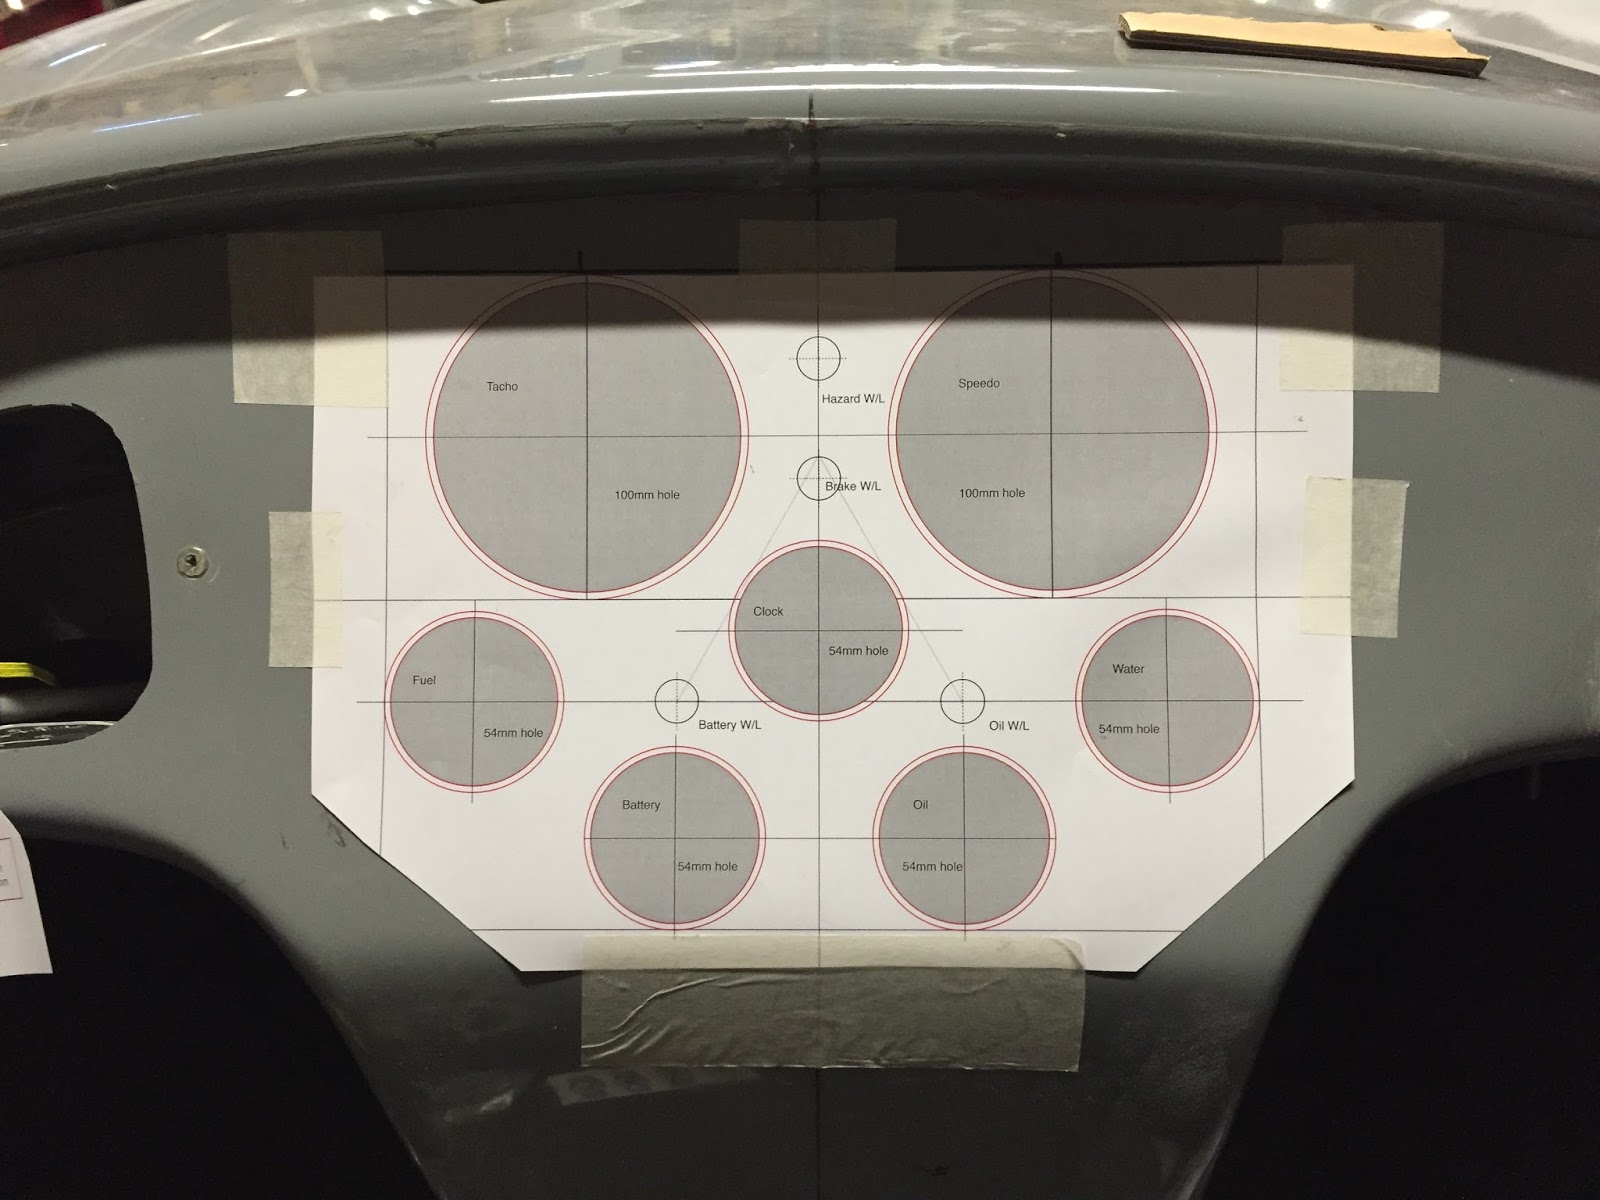
This is the end result! I printed it out on A3 paper, and the circles are all the exact size of my dials, plus an extra 1mm for when the dash is trimmed.
What I really wanted to go for here was the symmetry given by the top 3 smaller dials mimicking the curve of the body lip. I have also dotted some warning lights around the dials (Battery/charge light above the Volt meter, Oil light above the Oil pressure meter and the hazard and brake test light between the two large dials.

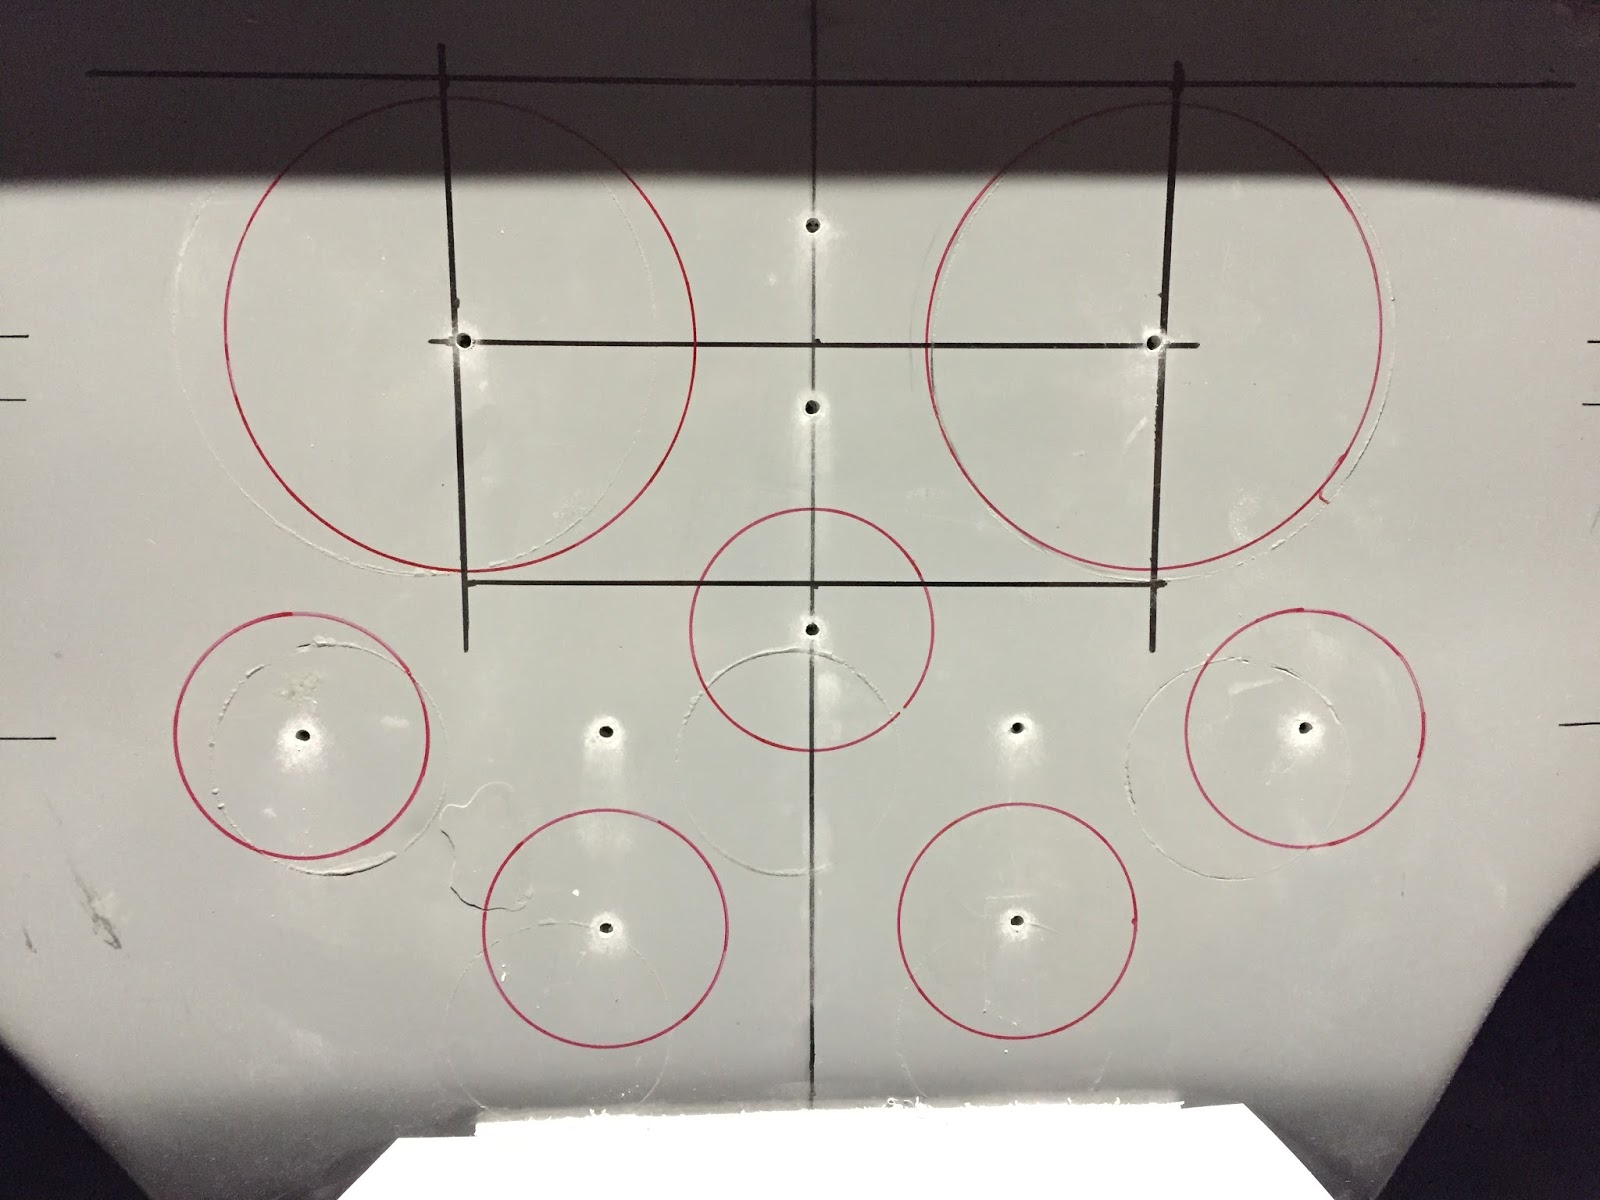
The next part of the puzzle was to transfer the information from this paper to the actually dashboard. I did this by drilling through all the hole centres, as you can here

Once I removed the paper template, you can see that all of the holes line up nicely with my original centre line measurements


I originally bought myself a mathematics compass for drawing circles, but quickly found that the hole to clamp the pen was too small for my permanent markers, so I had to come up with another plan.
I Googled for advice on how to draw circles to specific sizes, and came across a video on how to make a DIY beam compass. So that is exactly what I did. I found a suitable piece of wood (it only had to be quite small) and stuck a screw in one side to act as the pivot and drilled a hole through the other end at exactly 27mm and 50mm (the hole diameters for the Speedhut gauges I have are 54mm and 100mm - with the extra 1mm all round (2mm total) for the dash trim).
I must say that this worked extremely well and I quickly drew all of the circles I needed.

First circle done
Closely followed by all of the others.
This then gave me the outer limits that I need to open the holes up to.

I used a 51mm (2 inch) hole saw for the smaller dials and a 89mm (3.5 inch) hole saw for the larger dials. The warning lights will just be a 14mm hole which I have a 14mm drill bit for.
With the hole saw, I didn't want to cut too close to the edge, so I would have to fine tune by hand. I say by hand, but what this really means is by Dremel!

The Dremel made short work of taking out the remaining fibreglass and I managed to get the holes opened up really easily.
I had to take care not to take too much out as it does disappear quite quickly in to a fine white powder that gets everywhere!
A dust mask is definitely required for this job.

Overall I am really happy with the result.
The next task is to trial fit the dials and drill the holes for the warning lights and toggle switches.
No comments:
Post a Comment