Tuesday 21 January 2014

Tremec TKO600 has arrived

Well, I have to say that Brian at Roadcraft provides an excellent service. I contacted him just before Christmas to order a gearbox, he told me that he was expecting a delivery at the beginning of Jan, and he would call me then. I got the phone call last week, ordered the gearbox I wanted and asked for it to be delivered on a certain day, and hey presto! it turned up as promised.


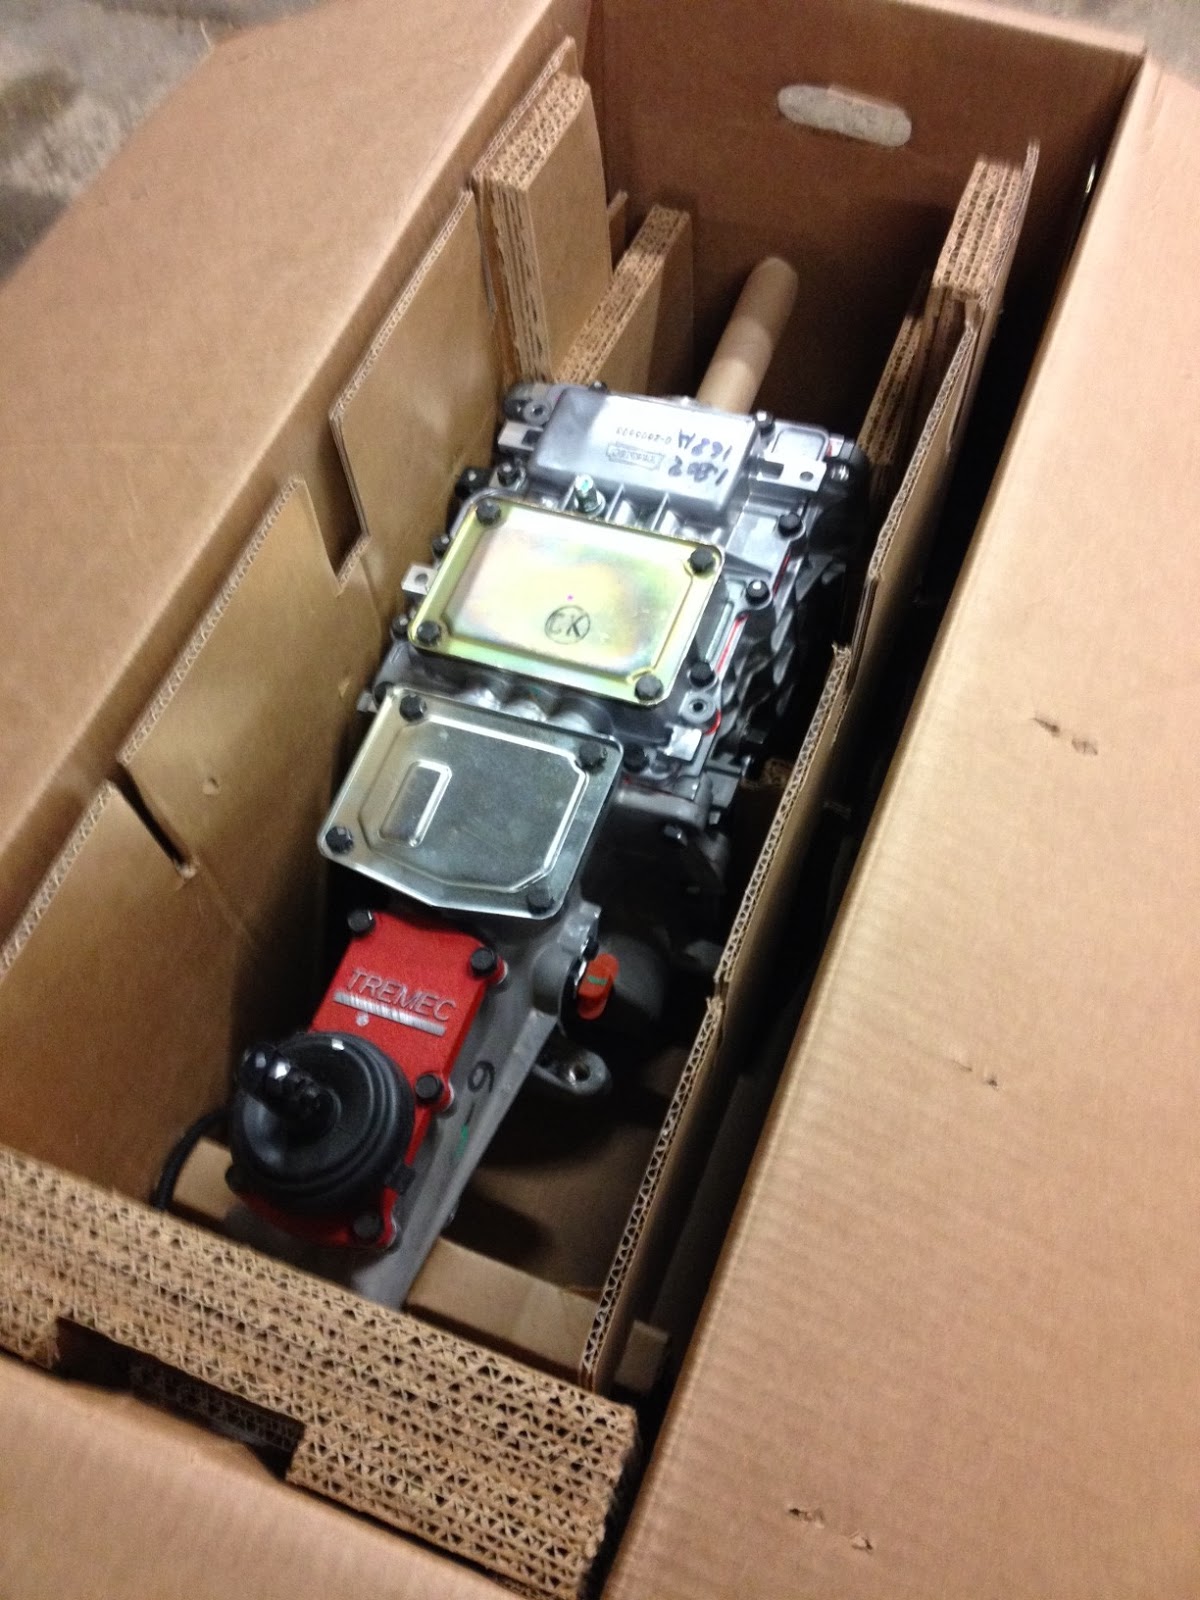
We unpacked everything, as it was like Christmas all over again, and set about working on the bell housing alignment. Using a handy dial gauge that my dad happened to have lying around, the measurements were taken at all points of the clock. You can see below what we came up with.


Measurements here are in thousandth's of an inch. The paper work that came with the box told us that we should see positives on the opposite side of the clock face to negatives, which is exactly right. By adding these opposites together, and then dividing by 2, this gives us the amount we have to bring the negative side out by to straighten it all up.

For example:

3 o'clock = +18
9 o'clock = -11
Sum of both = 29 (18+11)
Half of both = 14.5

So, now we just have to figure out how to bring the 9 0'clock position out by this amount.

I will post more updates as we go along.

Thursday 16 January 2014

Power Steering Rack

I have taken the decision that power steering is the way forward for me.

There is a lot of discussion around whether this is appropriate for a Cobra or not, but I have heard a lot of good things about adding this system, and most that do say they wouldn't be without it. As I plan on doing some longer European trips, I think this will suit our purpose quite well.

The next hurdle is that the system direct from AK is over £1000. This would stretch my budget a little too far, so I set about learning as much about the system as possible.

The rack that it is used in a BMW E46 rack, but the rack width is too short, so the arms need to be modified. I also have the E46 pump, with remote resevoir, to suit.

You can see the rack in situ here


and you can see that the arms are a tad short of the upright


So, we had to figure out a way to extend them. The theory was very simple:

1. Get a connecting nut
2. Get another piece of threaded rod
3. Join them all together

In practice it was not so easy, as M14 x 1.5 threaded rod is like the proverbial rocking horse poo, and I could not find it anywhere!
I eventually managed to find a bar of sufficient length on eBay. I believe it was a replacement part for some sort of puller, but it was perfect for what I needed.
We then fabricated some connecting nuts out of 24mm hexagonal bar to join it together


And now it reaches perfectly!


All we need to figure out now is how to connect the pump to the engine, and we will have solved the problem for a couple of hundred pounds!

Brake Pipes

I have done the copper brake pipe runs from the position the master cylinder will be to the front and rear.
I actually used Cupro Nickel pipe (having originally just purchased normal copper pipe) as I heard this was a lot more hardy and would resist work hardening better than the pure copper pipe.

The job was not too bad, and the flaring was made easy by the hand held Sykes-Picavant Flaremaster tool.

Here are some pictures of my progress:


I found it easy to bend the pipe gently by hand, rather than using the tool in the kit, as I had more control over where the bend was and how tight, or gentle, a radius I wanted on the bend.

I have not fixed any of these pipes in place yet as I will test fit the engine and gearbox before I do this. I want to avoid drilling unnecessary holes in the chassis, as it will just be more places for water to get in.

I also got some brake flexies direct from HEL as this was the cheapest place I could find and they have a neat little tool where you can customise your own on their website. I went for red ones to match the final colour scheme of the car (not that you will really ever see them)


I bought an engine!

My plan at the beginning was to get a SBC 383 Stroker, through someone like British American Engines/Customer Power & Paint or Roadcraft, however, I saw an advert on the Cobra Club forum for a SBC 350 that had just been rebuilt, but was no longer needed.

My dad and I took a drive to go look at it, and here it is:


It looks like an absolute beauty, and we got it for a good price so managed to save some money over a rebuilt one from any of the suppliers above. I was advised that it has been built for about 350bhp, which seems like a pretty decent starting point to me!

Initial investigation puts the block at 1974, and originally from a Camaro. I will need to get a proper age certificate for IVA, but if this turns out to be correct then we are on to a winner. If I am reading the flow diagram in the IVA manual correctly, pre-1975 engines are subject to emissions test of visual smoke only during the IVA!

I have purchased a TKO600 box to go behind this, and can't wait to get it all together!

No update in a while...

There has been a little bit of progress on the car, but not a great deal as I am still waiting for the diff to come back from being reconditioned by Russell from the Cobra Club forum.

It should be done in the next couple of weeks, and Russell has confirmed that it is a 3.58 ratio PowerLok diff, so this is great news IMHO!

I have ordered the gearbox, a TKO 600 from Brian at Roadcraft, and this should be delivered next week as well.

Once we get all these parts, it should be a pretty quick process to every together and get the car rolling!

I have some photos to get off my phone, so will get those downloaded and post some more updates soon.

In the meantime, I have created another page on this blog (link on the right) to start a log of IVA lookout points based on others experiences from IVA tests. Hopefully this will be a useful repository of info for all to use.

Front Suspension and Brakes

I have almost finished on the front suspension and brakes, so thought I would post a little update.

The whole lot went together very nicely. The Gen II chassis uses newly fabricated top and bottom wishbones, but the bottom wishbones are modified from the XJ40.


These are fitted using the original wishbone bolts, and washers are used to space the bottom wishbone to the front or rear in order to get the caster set up correctly. The build manual I have states 2 different settings (one is about 5.5 to 6 degrees and the other about 6 to 8 degrees), so I picked the middle figure and they are both currently set up at 6 degrees. I did find that each washer changed the measurement by about 1 degree, so this was as good as I could get it for now.

Once the caster was set up, then on with the Shocks, hubs, discs, caliper carriers, pads and calipers.


The donor XJ40 I had purchased had the Girling brake calipers. I was speaking to Antony at Berkshire Jag Components (where I got the replacement bearings, UJs etc) and he said that the ATE calipers that superseded the Girling ones were much better - apparently the Girling calipers had a tendancy to bind.

Anyway, he did me a very good deal on the ATE calipers with the appropriate calipers, so I opted for these.


All I need now are the brake flexies and steering rack and we are there.


The next job is to mock up the route for the brake pipes to ensure I have enough clips to satisfy the IVA man as I am still waiting for my diff to be refurbed.

Proper Preparation Prevents P!@s Poor Performance....

For a while now I have been slowly preparing the bits that I will need to build this Cobra.

A Jaguar XJ40 was purchased and dismantled for the front and rear suspension parts.


This basically resulted in the parts that were needed ending up in a Deox-C rust removal bath.


You can just about see the parts through the murky water!

These are currently still soaking in the solution, and I will see what they look like tomorrow.

I also had a quick practice with my new Sykes Picavant hand held flaring tool. I must admit, that I was quite impressed for my first attempt.


Now I just need to get my head around what flare is used where!

Delivery Day - The project begins....

Today is 24th October 2013. It is approx. 18:00 and my Cobra has arrived!

Very quickly got it all unpacked and into the barn where our project will live.


After the initial excitement of unpacking everything eventually started to die down, I started to unwrap all of the components that had been delivered, and it is honestly like Christmas has come early!


The next steps are to build a rolling trolley to support the chassis at a sensible height that it can be worked on without getting a bad back! Then it will be a case of starting on the front end of the car, as we will have to wait for the diff to come back from being refurbished before we start the back end.

More progress to follow.....